Design, Inspiration
- About Us
- Products
- How to buy
- Inspiration
- Resources
- Contact Us
Design, Inspiration
As the name suggests, the subway tile dates back to 1904, when it was first introduced on the NYC subway system. The concept was developed by architects George C. Heins and Christopher Grant la Farge who used the ceramic 3”x 6” tile as a way to brighten the underground space and most importantly for its hygienic properties. The tile took off from there, trickling into homes in the 1920’s. Lending to a timeless, affordable and universal look, the subway tile became (and still remains) a reliable bet to use in any interior space where cleanliness holds significance – from residential bathrooms to hospitals and restaurants.
Since its origination, subway tile has diversified from the signature white 3”x6” format, into numerous sizes, colors, configurations and even materials, allowing the versatility for this ceramic tile to work with almost any design style.
Read on for the most common patterns to incorporate subway tile into your space.
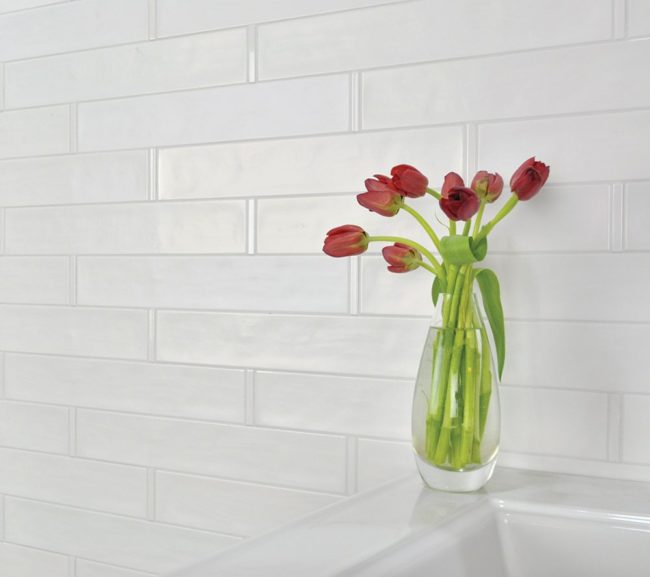
Origin 10 1/2″ x 2 1/2″ Birch White (G), Photo: Marco Ricca
The most recognizable way to lay subway tile, the ½ offset is a layout you’ve most likely seen in many kitchens, bathrooms and on the subway. Imitating a classic brick pattern, the ½ offset is a timeless way to incorporate subway tile into any space.
A variation of the traditional ½ offset, this configuration lays the tile a third of the width of the surrounding tile above or below. Ideal for larger tiles, this pattern is best at disguising imperfections from the ceramic firing process.
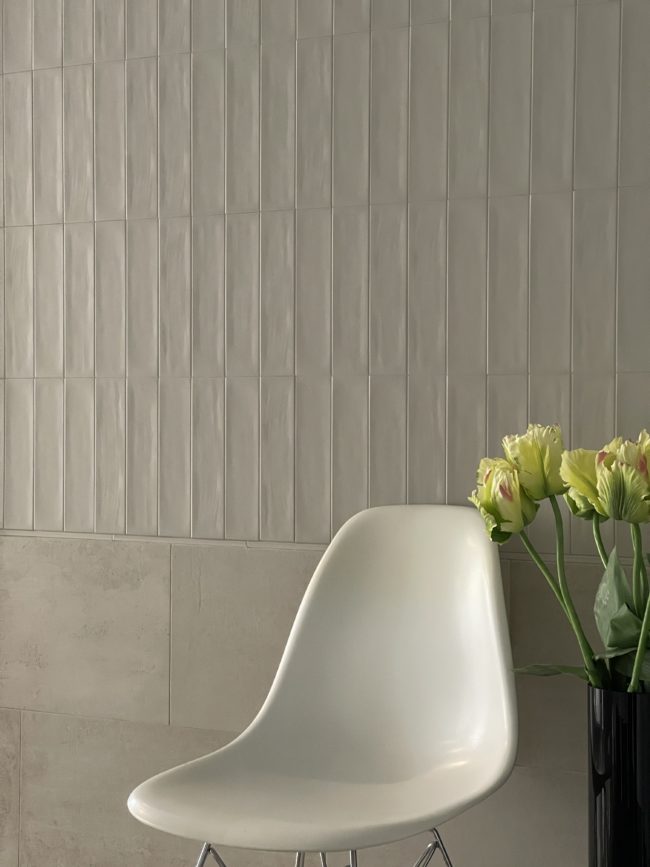
Impressions 4″ x 12″ Cloud (Linen)
The ½ offset can also turn on a 90-degree angle, resulting in a vertical ½ offset. The pattern draws the eye upward, instantly enlarging any space it is used.
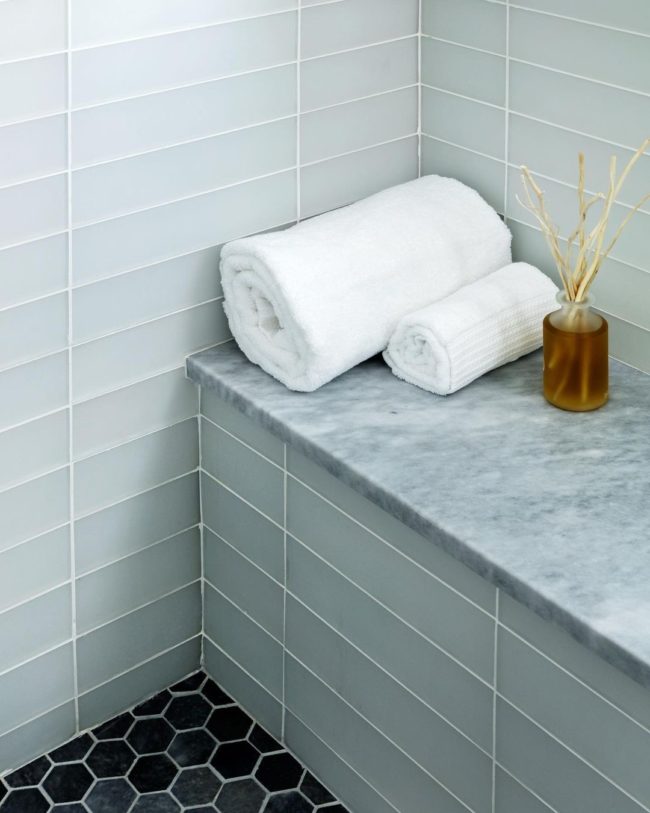
3″ x 12″ Icelandic Blue (Frosted), Design: Dana Koebbe Interiors
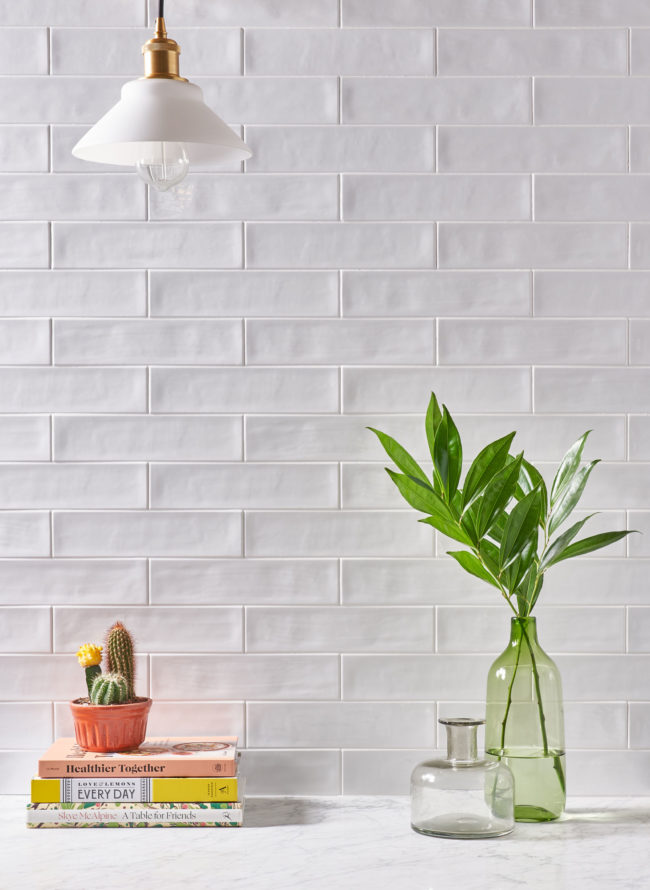
The easiest configuration to lay – the horizonal stack lends to a clean, linear look, ideal for tiling distinct shapes or spaces. Seen here in a colored ceramic, the horizontal stack is simple but sophisticated.
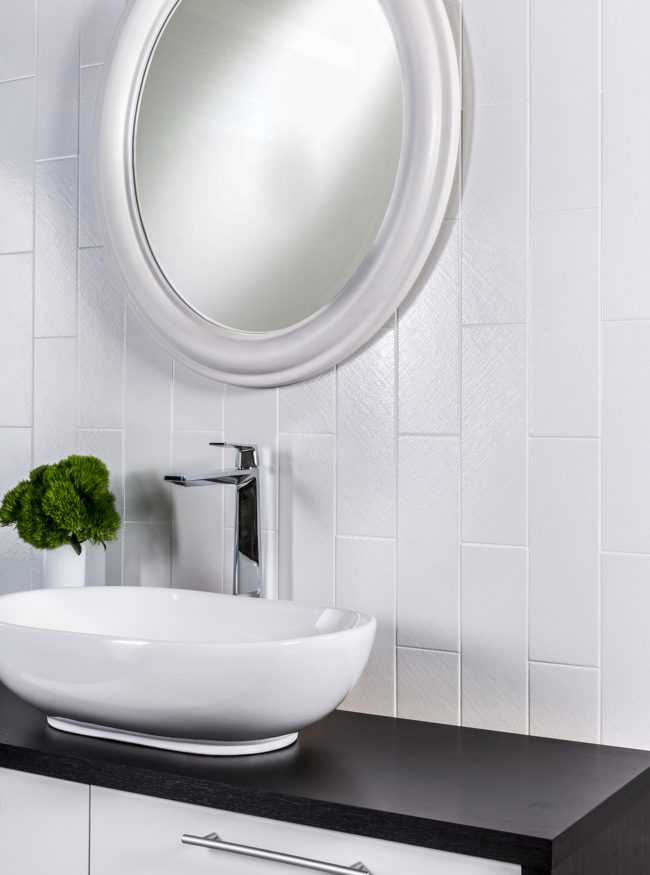
Origin 10 1/2″ x 2 1/2″ Mushroom (M)
Lending a much more modern feel, subway tile can also be stacked vertically. Use a vertical stack in small spaces to create the illusion of elongated walls.
Origin 10 1/2″ x 2 1/2″ Birch White (M), Design: Rachael Michutka, NV Design, Photo: Paige Davis, NV Design
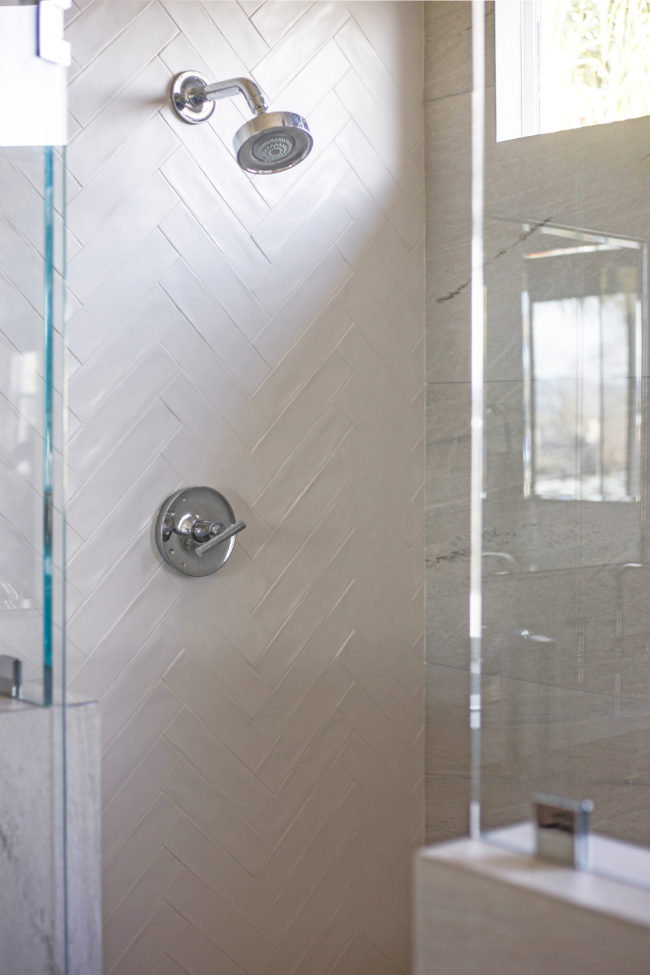
Create visual interest with a herringbone configuration. Alternating the tile at a 45-degree angle in a V shape evokes a classic elegance perfect for a kitchen backsplash or accent wall.
Luster 4″ x 12″ Coastal (Pearl)
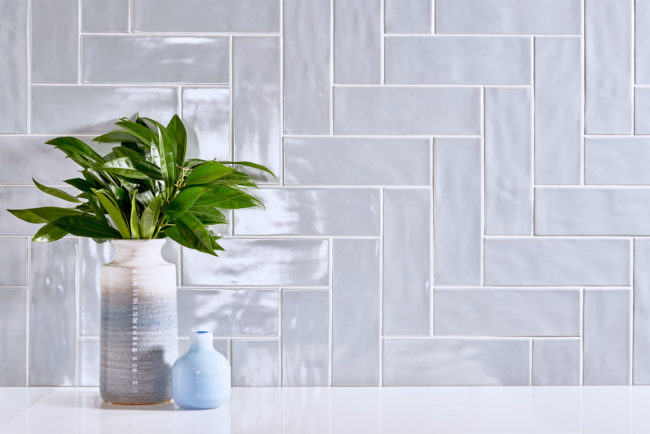
For a modern take, turn the traditional herringbone layout on a 90-degree angle, running parallel to the floor or edge you are working with. This will draw the eye diagonally, creating a subtle, visual punch.
Essential Ceramic 3″ x 6″ Breeze (G)
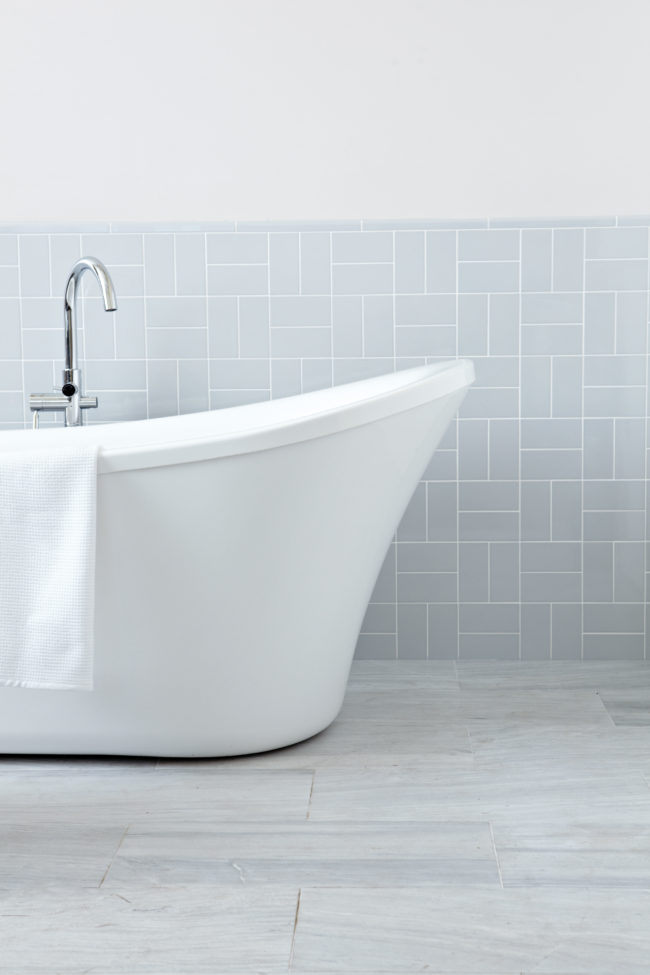
A crosshatch is achieved by laying your tile in alternating two-by-two grids, emulating a woven look, but with the added glam of tile.
Take the tradition of subway tile to a new dimension by using a pop of color, contrasting grout, or a fresh take on the above patterns. The options are as endless as the longevity of the trend.
Explore the latest and greatest from AKDO.


Dealer Login | Privacy Policy | Accessibility Statement | © 2024 AKDO, Inc.